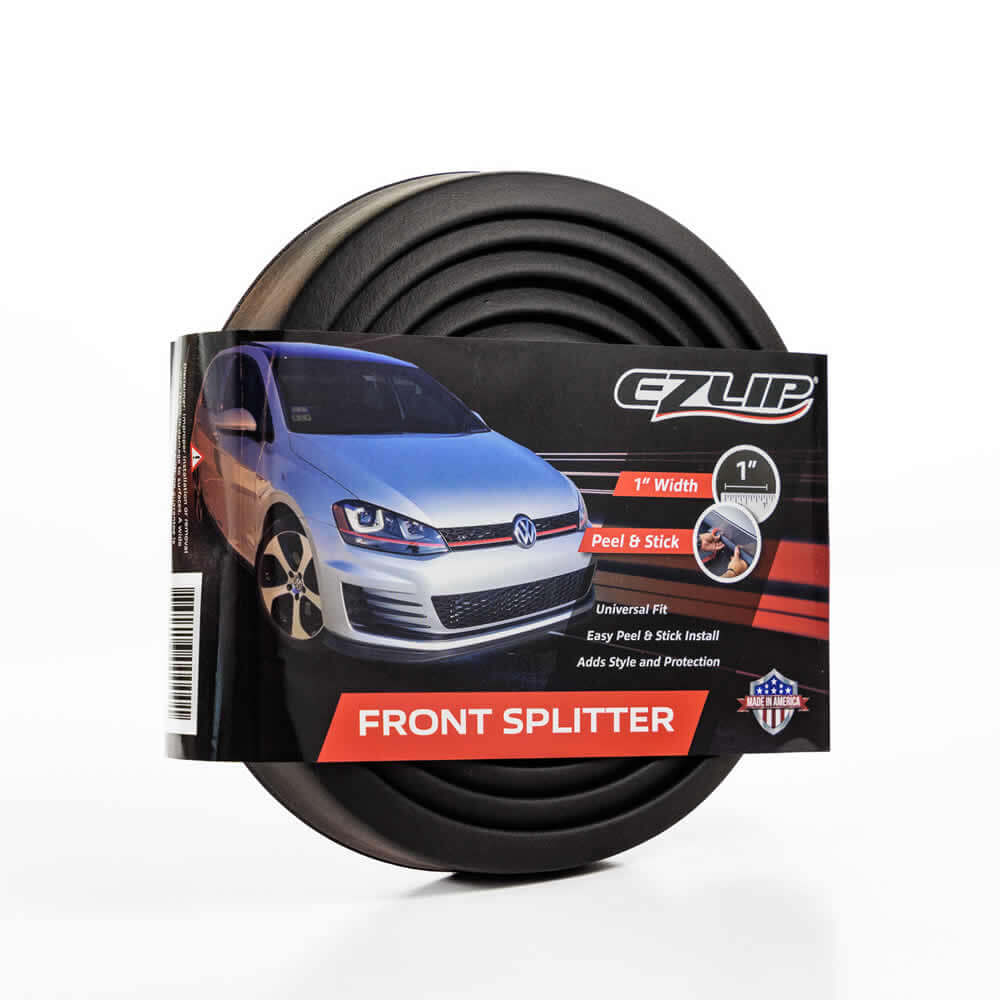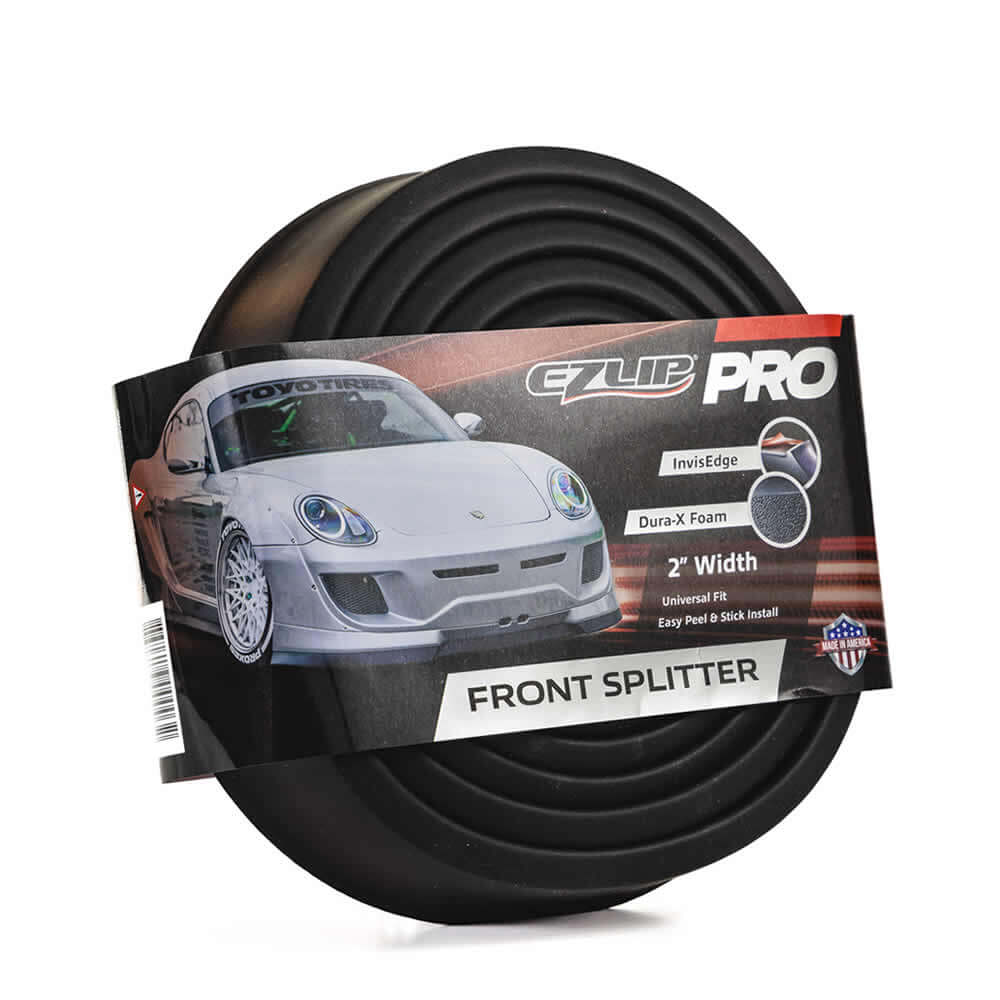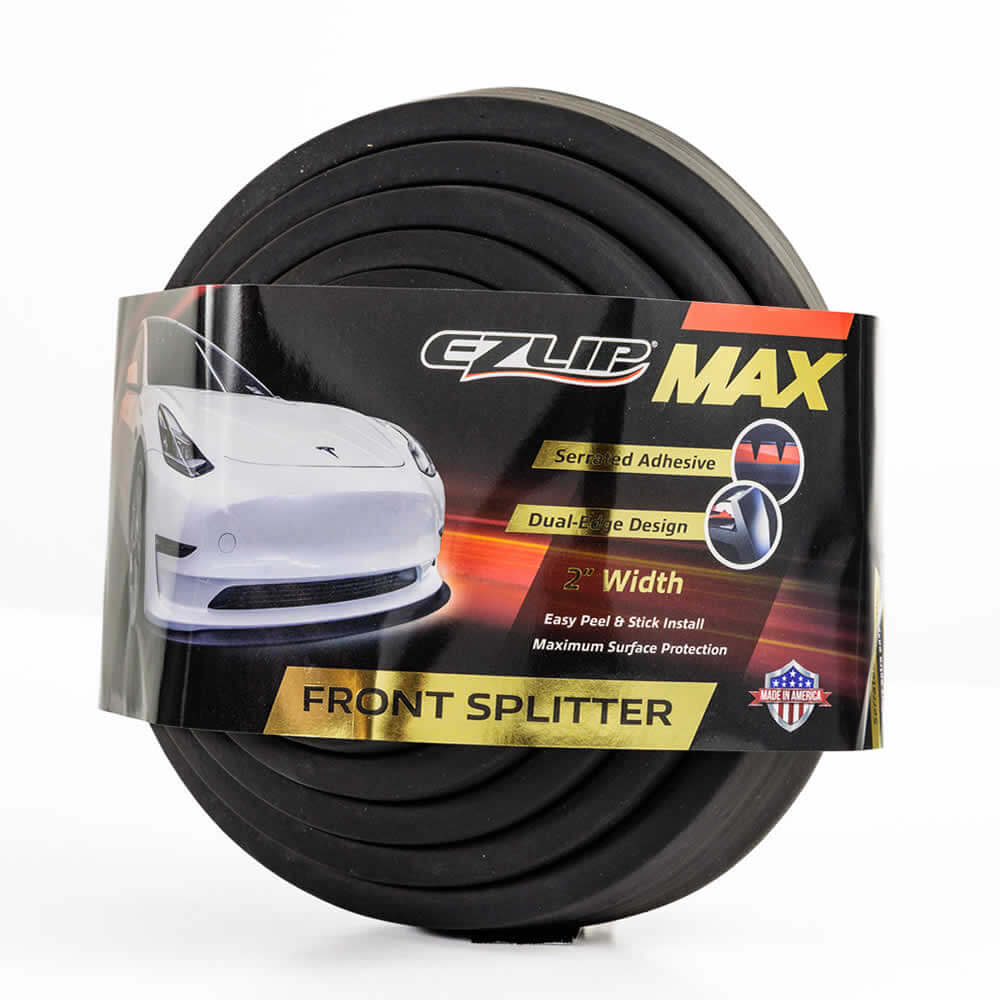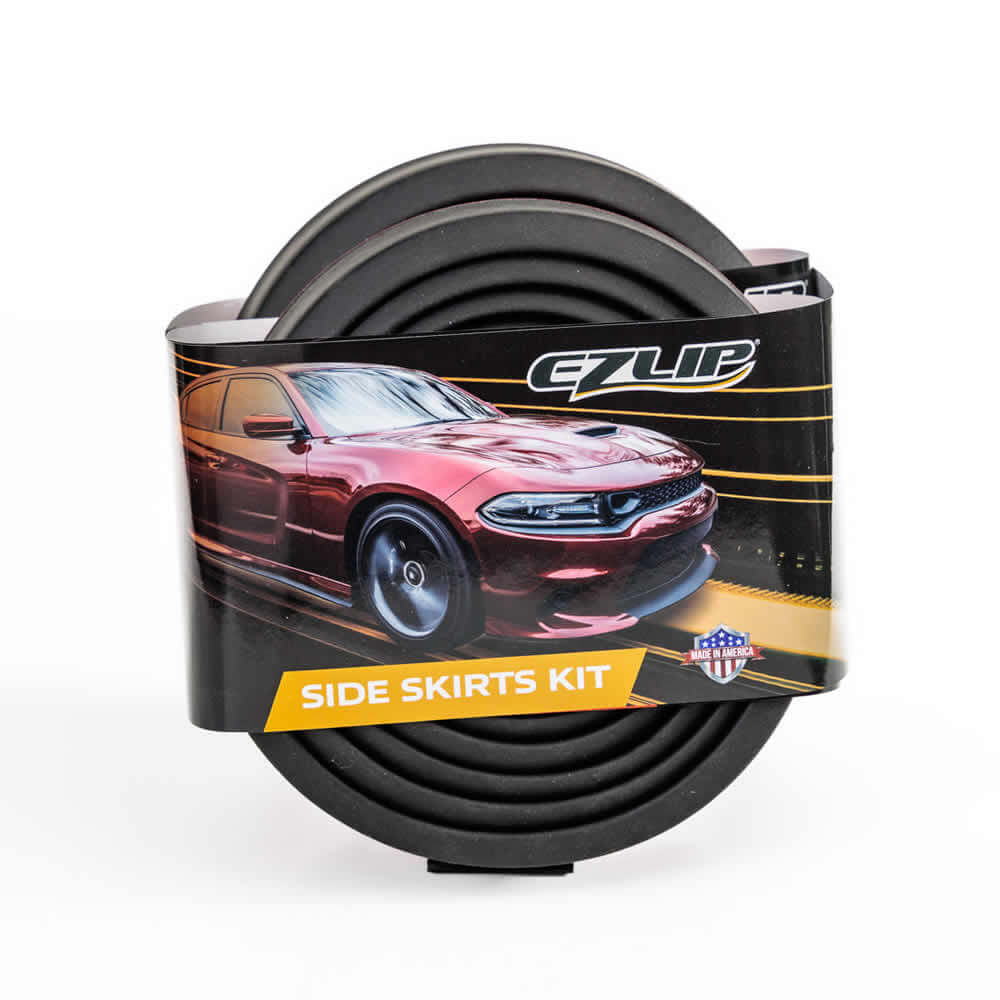
EZ Lip prides itself on offering products that are easy to use. When we designed our front lip we specifically wanted to create a product that is fast, simple and affordable. It’s true; There are many front lip options out there. But EZ Lip is by far the number one option if you are looking for a front lip that takes only a pair of scissors and a few minutes to install. Today we’ll show you how Luke installed our front lip on his 2013 Honda Civic LX.
Owner: Luke
Location: Mobile, Alabama
Instagram: @lukies_civic
Car: 2013 Honda Civic LX
Front Lip: The Original EZ Lip (1?)
Time to Install: 15 minutes

Preparing for front lip installation
Preparation is extremely important when you install your EZ Lip. Start by cleaning and wiping the bottom of your bumper. Ideally, you should be using rubbing alcohol for this. Other cleaners or even soap and water is not recommended!

Step 1: PEEL
The first step in the installation is lining up one end of the EZ Lip with the location on your Civic where you want your front lip to begin. Remove the 3M’s red protective liner from the tape and adhere.
PRO TIP: The outer end of the roll is the best end of the EZ Lip to start with. Cut about 3″ from the center piece of the roll and throw it out.

Step 2: STICK
The second step will take the longest but it will still feel lightning fast. Just continue to peel and stick the lip about 1 foot at a time. Be sure to press the adhesive firmly against your bumper while you’re installing.
PRO TIP: How much do you need to press and hold to get a good bond? Enough to get you a bit sweaty. You’ll know your front lip is done right when you break into a light sweat by the end!

Step 3: CUT
For the grand finale, just take a pair of sharp scissors and cut off the excess material.
PRO TIP: Depending on your vehicle, you may have enough material to install on your rear bumper sides as rear aprons! This looks great on some vehicles.

Before & After
We’re so confident that you’ll love the new look of your car that we suggest you take a before and after photo just so you can compare. Above is Luke’s Honda Civic LX with and without our front lip installed. Which do you like more?
Front Lip Installation Tips
To learn more about how to install and watch our tips, please check out our Installation and Tips page, here: https://ezlip.com/installation/
If you’d like to have your car featured in our next installation blog, please reach out to us at getsponsored@ezlip.com!


