Whether you’ve got an unlimited budget and love restyling your ride or money’s tight and you’re looking for some quick and inexpensive upgrades, these five DIY Best Car Mods will deliver. In today’s quick guide we’ll show you some budget-friendly modifications anyone can do in their garage! And, not only are these car mods low-cost but they take about as long to install as the time you’ll spend reading this guide!
Paint Your Calipers
One of the easiest ways to give your car, truck or SUV a truly custom look is by upgrading the look of your brake calipers. If you’ve ever seen performance brakes on a Porsche or a big brake kit on a Mustang and you like the look, then caliper paint might be just the mod you’re looking for! In four easy steps, you can change the color and appearance of your brakes in less than 30 minutes with one of the easiest and best car mods.
1. Prepare yourself:
Be sure to paint your calipers in a well-ventilated but enclosed area. You’ll also want to use a tarp or drop-cloth to protect your ride from overspray. Next, remove the wheels from your car. Then, use masking paper and painter’s tape to mask off the surrounding areas of the car. Consider using aluminum foil to mask off larger areas.
2. Clean like a champ:
Get a can of brake cleaner and shake vigorously. Next, spray the cleaner onto the caliper at a distance of ten to sixteen inches away and wipe away the result with a lint-free cloth. Repeat as necessary.
3. Paint your calipers:
Shake your can of Caliper Paint for one minute after the mixing ball starts to rattle. Then, hold the can about foot away from the caliper and spray a few light coats. Wait ten minutes between each application.
4. Allow to Cure:
Your painted caliper will be dry enough to handle after one hour. Wait 5-9 hours before re-installing wheels and 24 hours before driving. The painted caliper will be fully cured after seven days.
There’s no shortage of great caliper paints to choose from. We’ll give you our top 3 favorites in terms of performance and color selection:
- G2 USA Caliper Paints: With a selection of 11 standard colors, they also offer a G2 Custom Color Match Brake Caliper Paint process.
- VHT High Heat Coatings: VHT Caliper Paint has been specifically designed for the custom detailing of brake components.
- Dupli-Color® Caliper Paint: A durable, protective coating is resistant to chipping, brake dust, and automotive chemicals.

Wheel Stripe Decals
Whether you’ve got a beefed up F150 or a sleek Hyundai Veloster, wheel stripe decals are an inexpensive way to get a unique, customized look. Wheel stripes are made to look like more expensive Wheel Bands which apply directly to your rims using 3M™ VHB tape. However, these are less expensive and easier to use and you can get these decals in over 100 different colors for a truly eye-catching look. For less than $40, you can get a set of decals that can be applied to any of the hard, non-porous surfaces of your rims or wheels. In under 30 minutes you can get the custom look shown above. Check out these great companies to get affordable, high-quality wheel stripe decal kits.
- Shine-Graffix: Offers wheel pin stripes for any wheels from 13 to 26 inches.
- Tapeworks: Their RimStripes are thin strips of vinyl available in more than 90 colors including chameleon and reflective films. Best of all, they give you an extra strip in case you mess up!

Windshield Visor Stripes
If you want a custom look for your windshield there’s almost nothing better or easier than to do than apply windshield visor strip. All you need is a strip of vinyl long enough to cover your windshield. In general, we recommend at least 60 inches by 12 inches although you can go longer. The great thing about DIY windshield decal strips is that you can use any vinyl film you want. Choose from 3M™ 1080 Color Flip, ORACAL® Honey Comb or a variety of solid colored vinyl films and add a one-of-a-kind look in no time. All you need to get started are the following supplies:
- Spray Bottle
- Dish Soap (for films without air-release only)
- Squeegee
- Razor or Exacto Knife

Tinted Headlights
Your headlights are the most visible part of your car. You have any number of options when it comes tinting your headlights from pre-cut headlight kits, to headlight wraps to paints and sprays. Given that we’ve tried to keep your outlay to under $40 in today’s post, we’ll put the pre-cut kits to the side and focus primarily on wraps and sprays.
Headlight Tint Wraps
The most common type of headlight tint film on the market are calendered. They are transparent films made by companies like ORAFOL and sold under their ORACAL® 8300 Series or Rvinyl’s Rtint™ line. These films are relatively easy to work with. Rtint™ even offers a neochrome chameleon although ORAFOL provides an almost mind-numbing selection of colors. Application is rather straightforward but you’ll want to be sure to use a slip-solution made from dish soap and water or Rapid Tac solution. Companies like Luxe Auto Concepts and APA have begun to make cast vinyl films with air-release adhesives which claim to make installation easier.
Headlight Spray Tint
Headlight sprays are an affordable way to quickly change the look of your lights. Whether you use a can of VHT Smoke tint, you can completely smoke out your headlamps in minutes flat. Best of all, a can of spray is less than the cost of lunch at McDonalds!
Obviously, there are pros and cons to both of these methods. If you choose to use wraps, you may need a few practice runs to get all the bubbles out. The good thing is you won’t end up ruining your lights if you mess up. As easy as it is to spray your lights, it’s not easy to remove spray on tint. In fact, if you mess up spraying your lights, you could end up having to buy a new pair so buyer beware!

EZ Lip Spoiler Kits
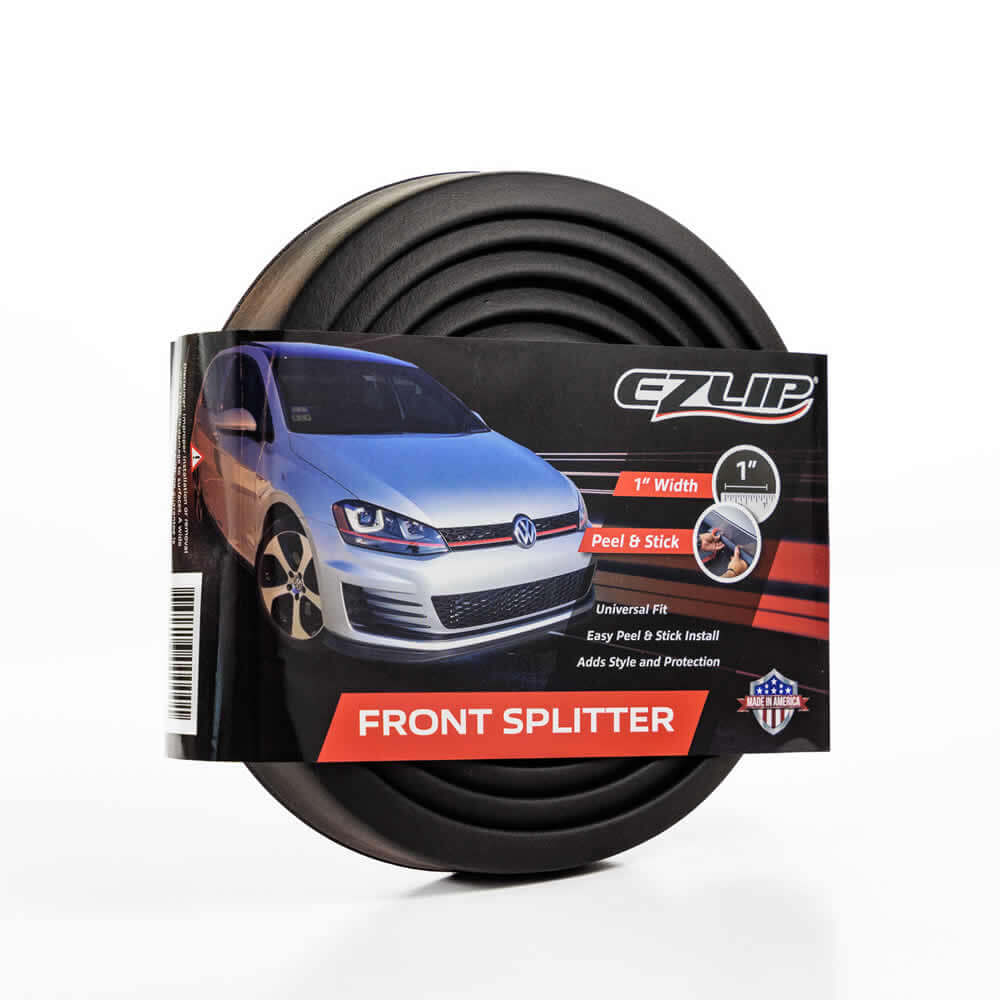
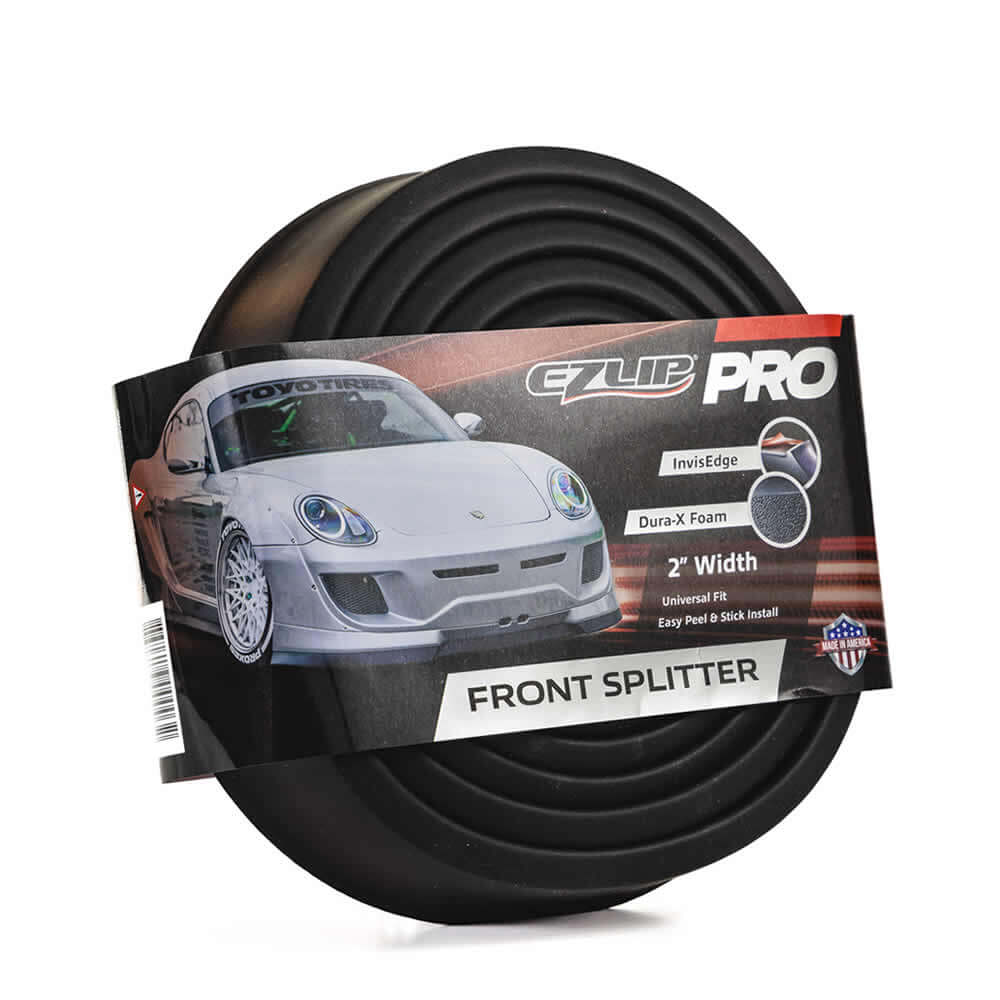
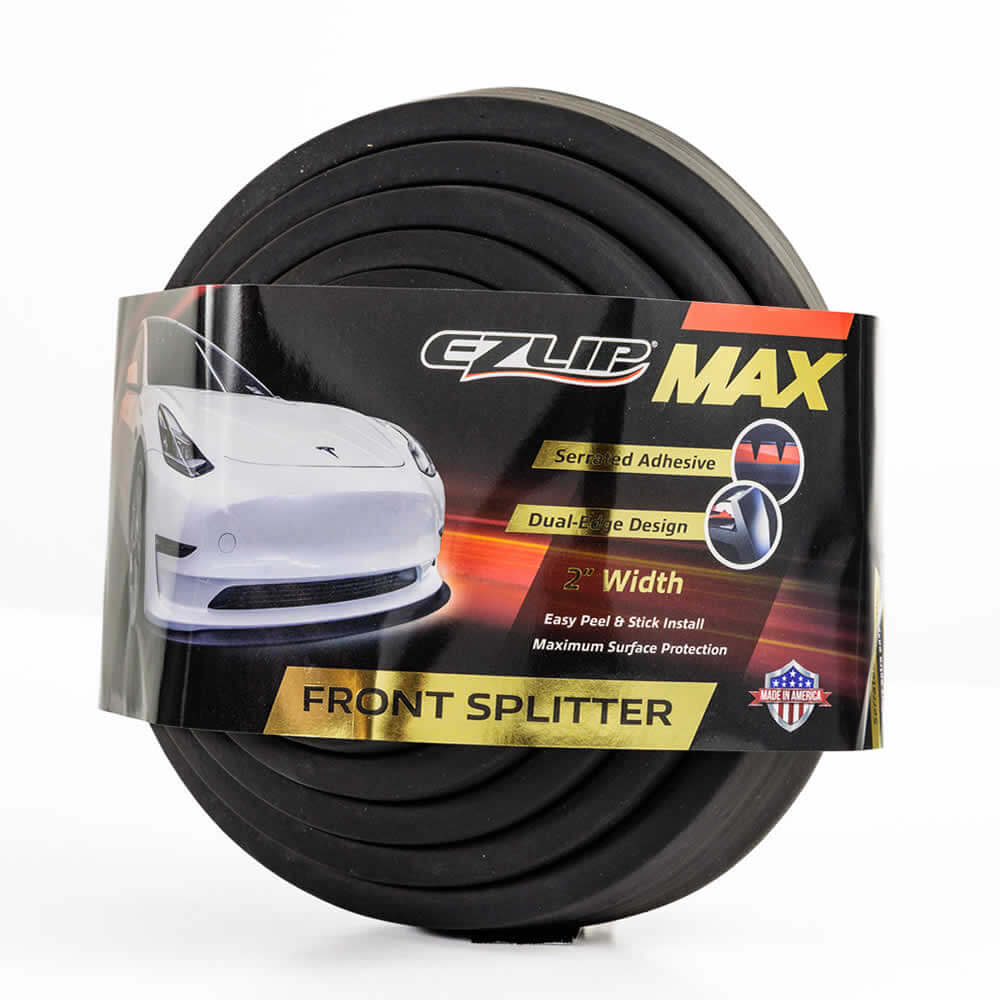
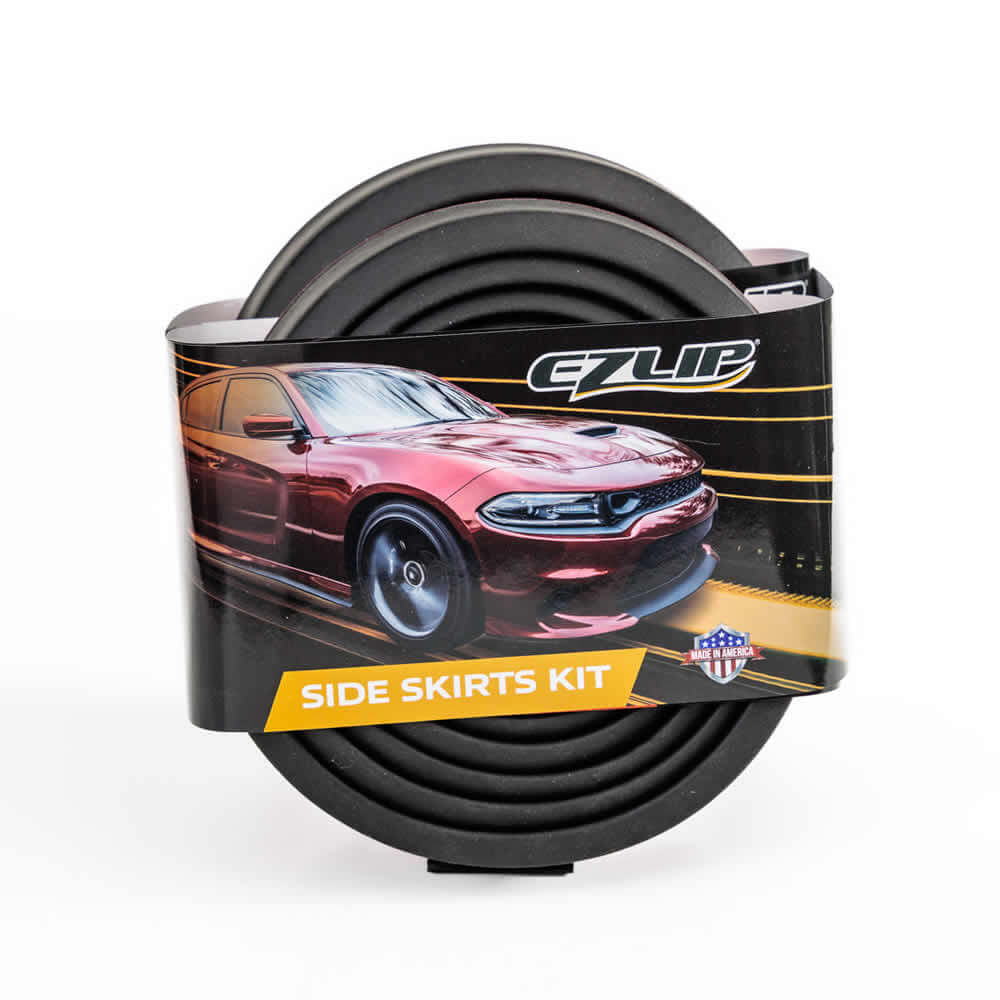
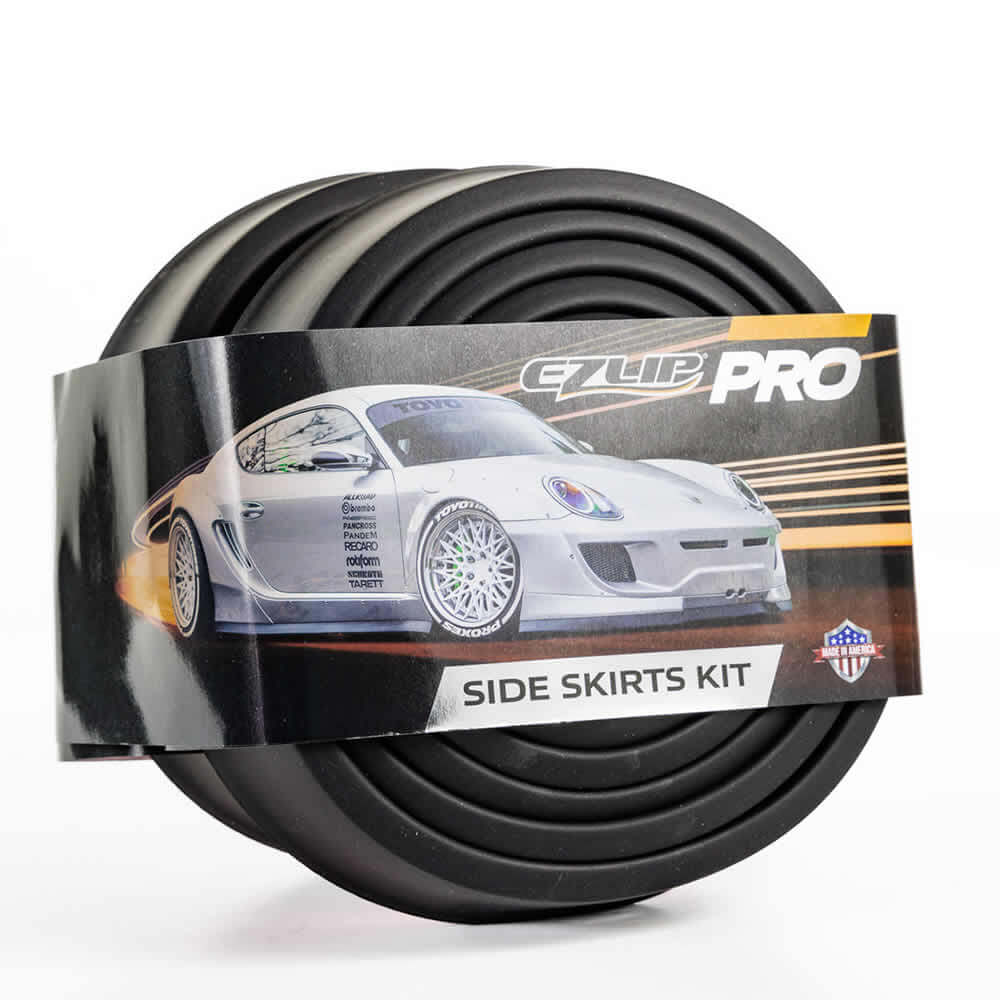
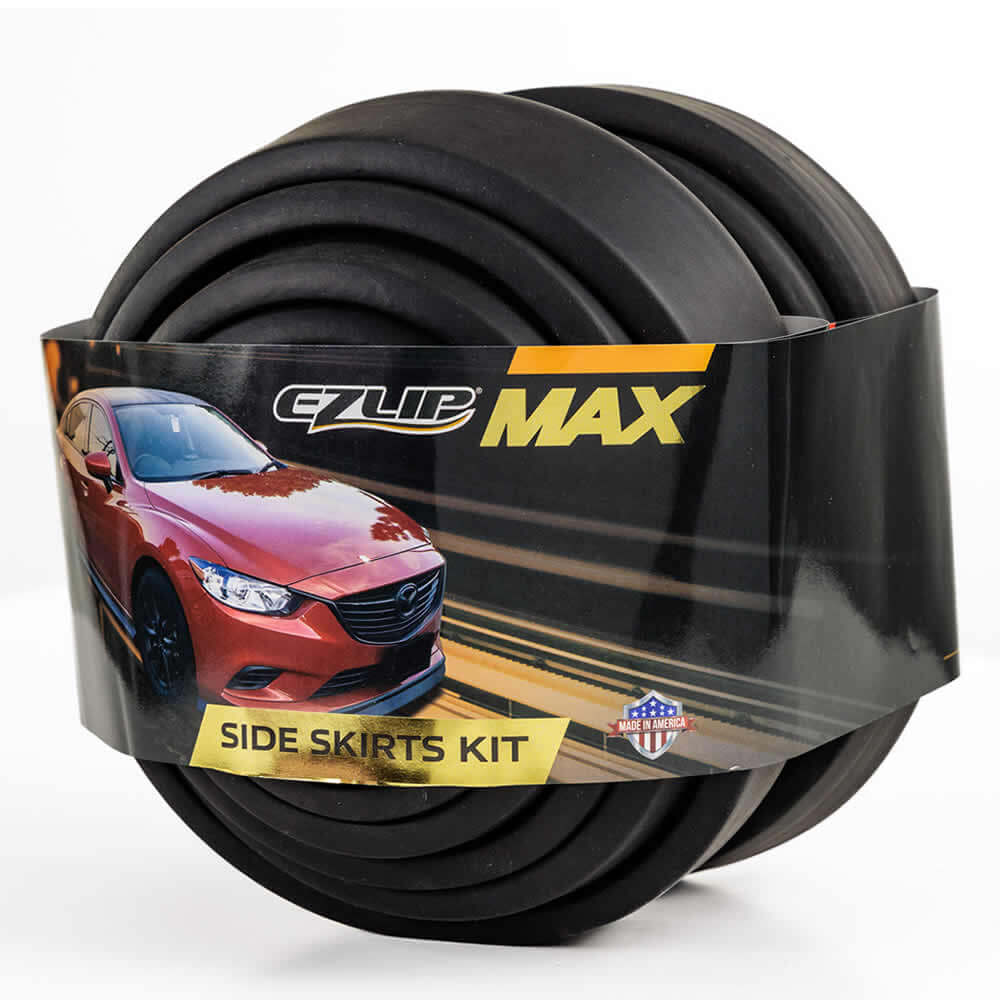
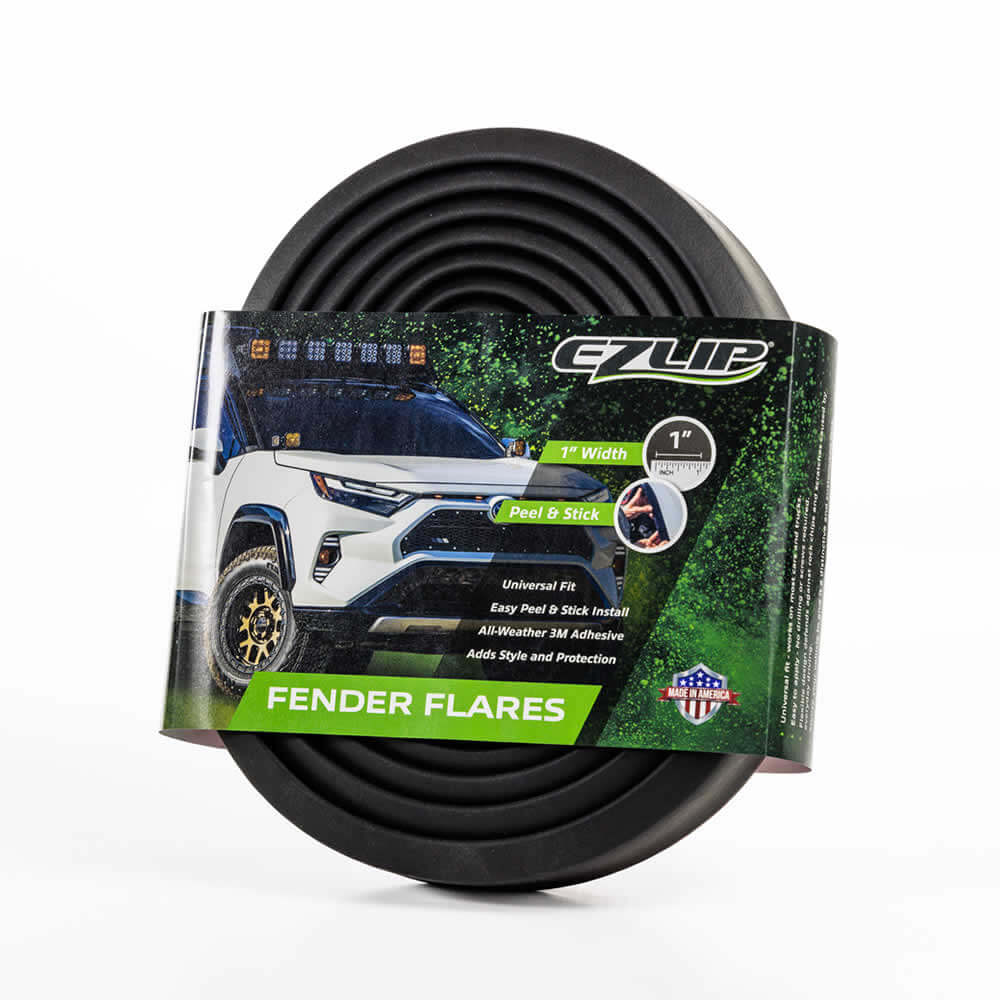
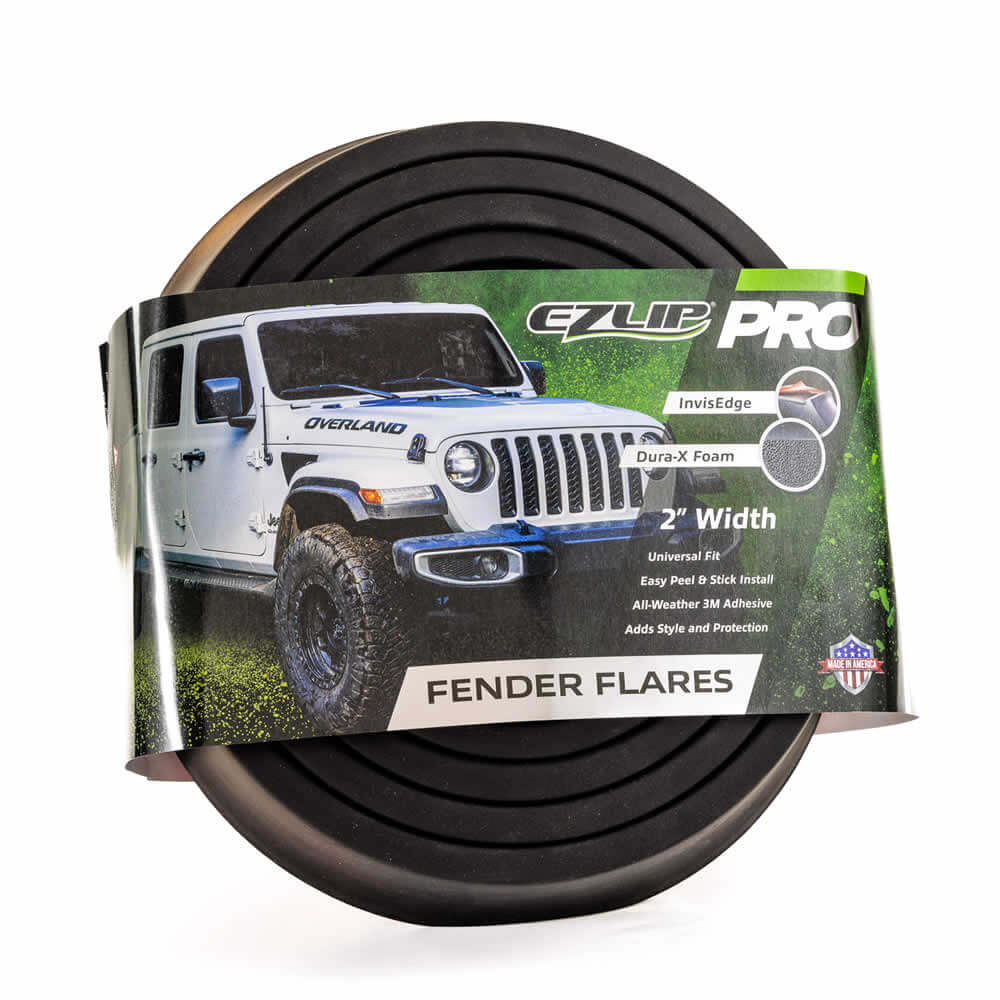
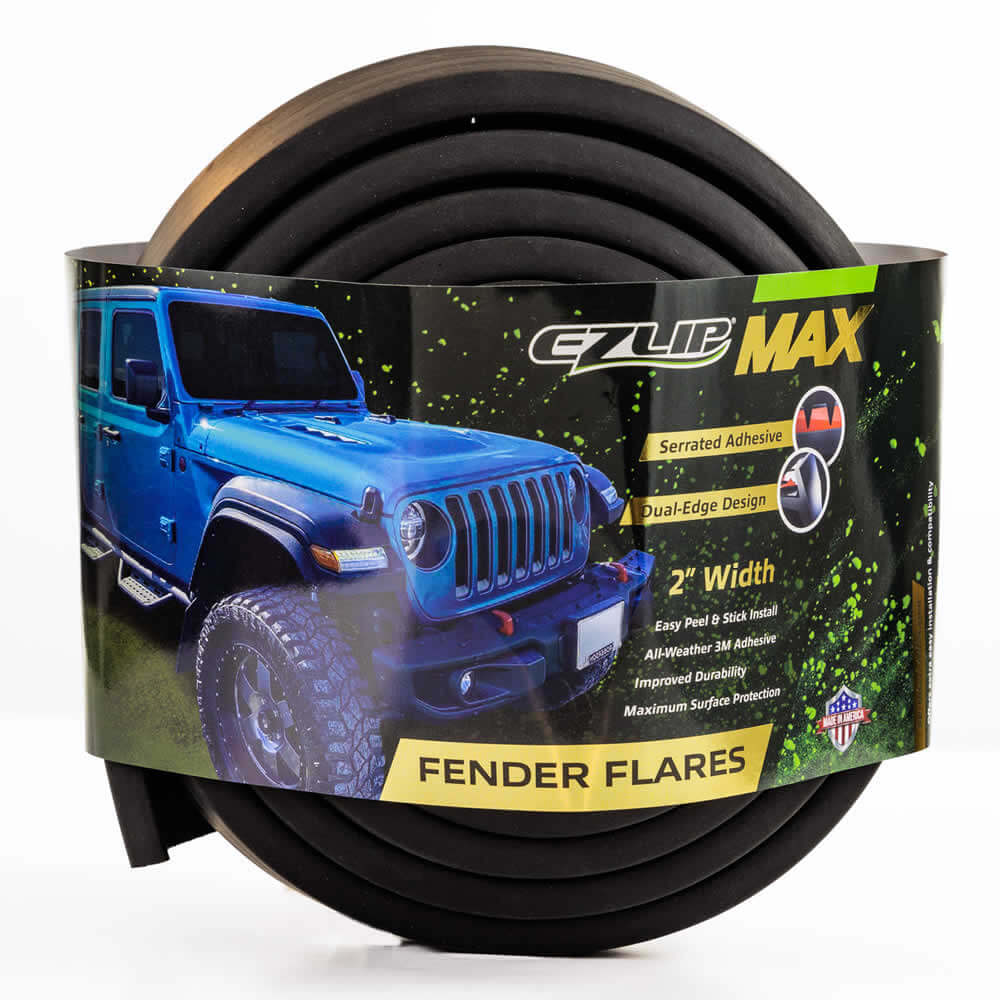
EZ Lip Spoilers are a quick, fast and easy DIY Car Mod that will add performance-style to any car or truck. Available in multiple colors including Black, you can find a color to accent the look of any color scheme. Keep an eye out for new colors coming soon! Now you can get a lowered look without going to a shop. Our EZ Lip Spoiler Kits give the appearance of lowering your ride up to 2 inches. Installation is an simple three step process. Just clean, dry and heat then flow these fast and easy instructions:
Step 1:
Peel protective film from tape starting at one end of the EZ Lip and attach to the surface of the vehicle.
Step 2:
Firmly press and hold the EZ Lip for several seconds against the surface of your vehicle. Make sure to eliminate any gaps and bubbles.
Step 3:
Cut excess off with a pair sharp scissors.
Choose your DIY poison
If you’ve made it this far you’re well-prepared to upgrade your ride with some of the best car mods at under $40. Heck, make a whole weekend out of it and do all five. Whatever you do, we hope you’ll make an EZ Lip Spoiler kit a part of your next project because we’d love to see the results!


