How to install your new front splitter so that it lasts.
The EZ Lip is made to withstand snow, rain, high speeds, car washes, scorching heat and pretty much anything else you throw at it. Those that have gone through several EZ Lips probably know by now: Proper surface preparation and front splitter installation is critical for a solid bond.
This month’s post serves as a guide for those seeking the best results and longest life for their EZ Lip. These three tips will make the biggest difference in how strong the front splitter adheres to your vehicle. Follow these tips next time you install one of our EZ Lip products!
Tip 1: Clean only with rubbing alcohol
Not all cleaning products work well with 3M. In fact, using soap is actually counter-effective. Using wax before installing is even worse! The first tip is making sure to clean the surface of your vehicle ONLY with isopropyl alcohol. This is what 3M recommends for cleaning and this is what you should use.
HINT: Don’t have rubbing alcohol? You can buy some from almost any retail store.
Tip 2: Warm up the adhesive
The second tip is making sure to install your EZ Lip while the ambient temperature is above 70-degrees Fahrenheit (21 Celsius). This allows the adhesive to soften and mold to uneven surfaces or imperfections such as cracks, dents and other obstructions such as bumper screws or clips. If the weather is cold, use a hair dryer or heat gun. The warmer you can get the adhesive the better!
HINT 1: If you don’t have a hair dryer or heat gun, you can leave the EZ Lip facing direct sunlight on sunny day for 10 minutes to warm it up.
HINT 2: The best results, warm the adhesive AND the surface of your car.
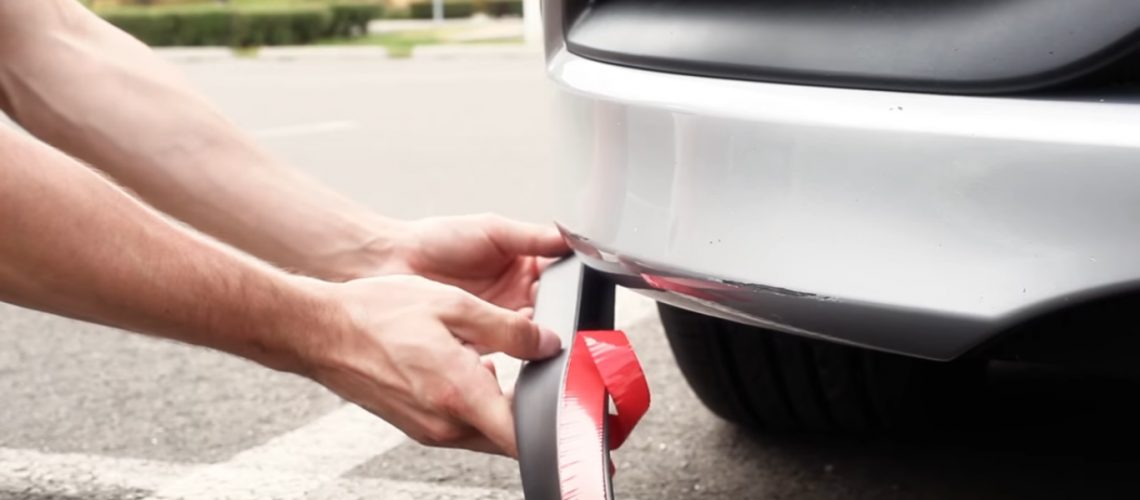
Tip 3: Press firmly
The last tip is to make sure to firmly press the adhesive against the surface of your car. This ensures that there are no air bubbles or gaps and there is maximum contact with the surface. For best results install the EZ Lip front splitter about 6 inches at a time. Then press and hold the installed section for 5-10 seconds. After the installation is complete, press the entire length of the EZ Lip one more time. If you’ve done this step right you should feel a bit tired at the end!

HINT: Roll your palm back and forth over the entire width and length of the adhesive. This ensures that both the front and back side of the adhesive doesn’t have any gaps where moisture or grime can seep into.


