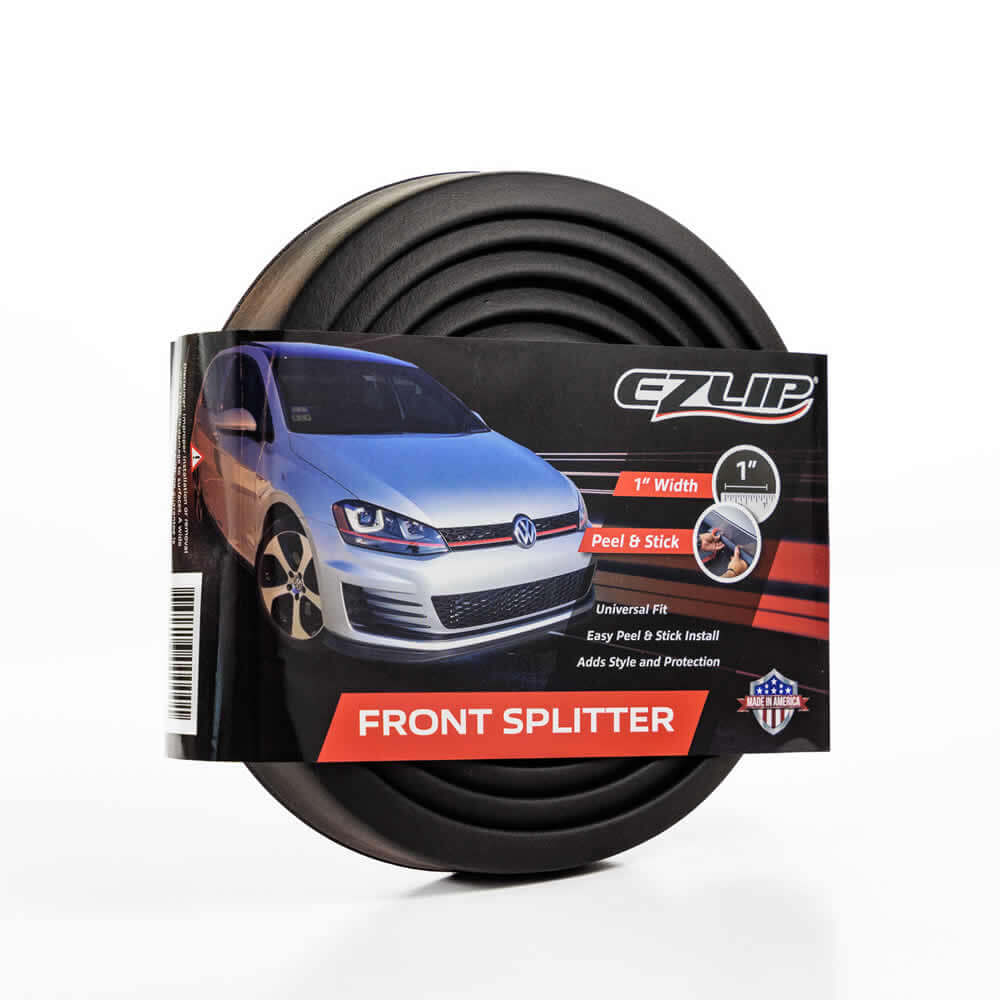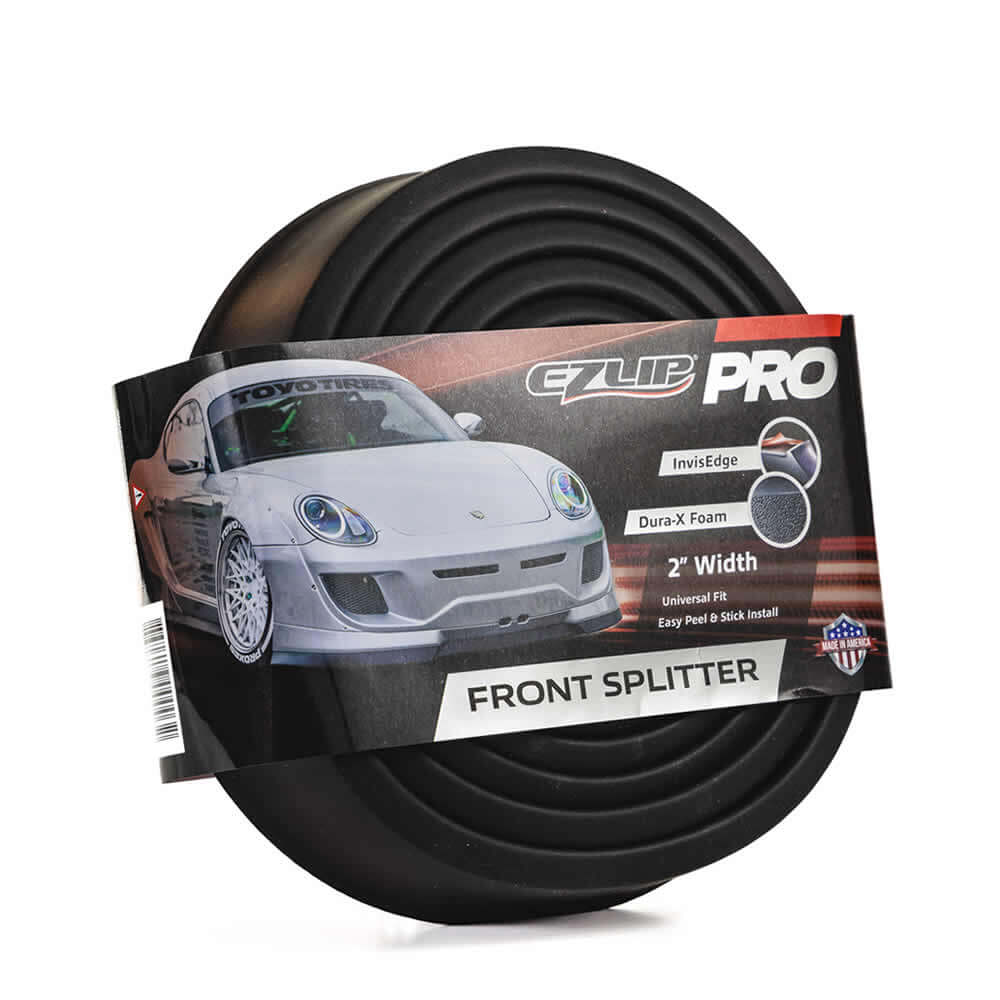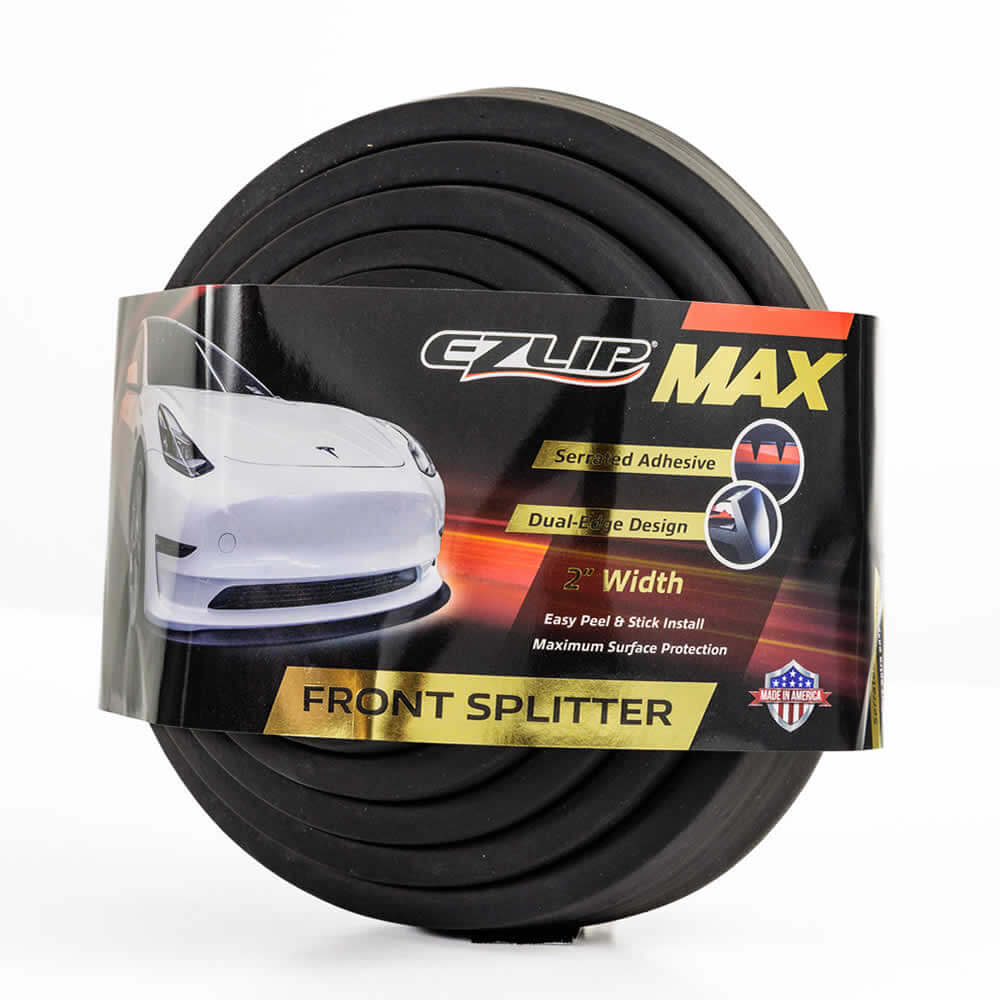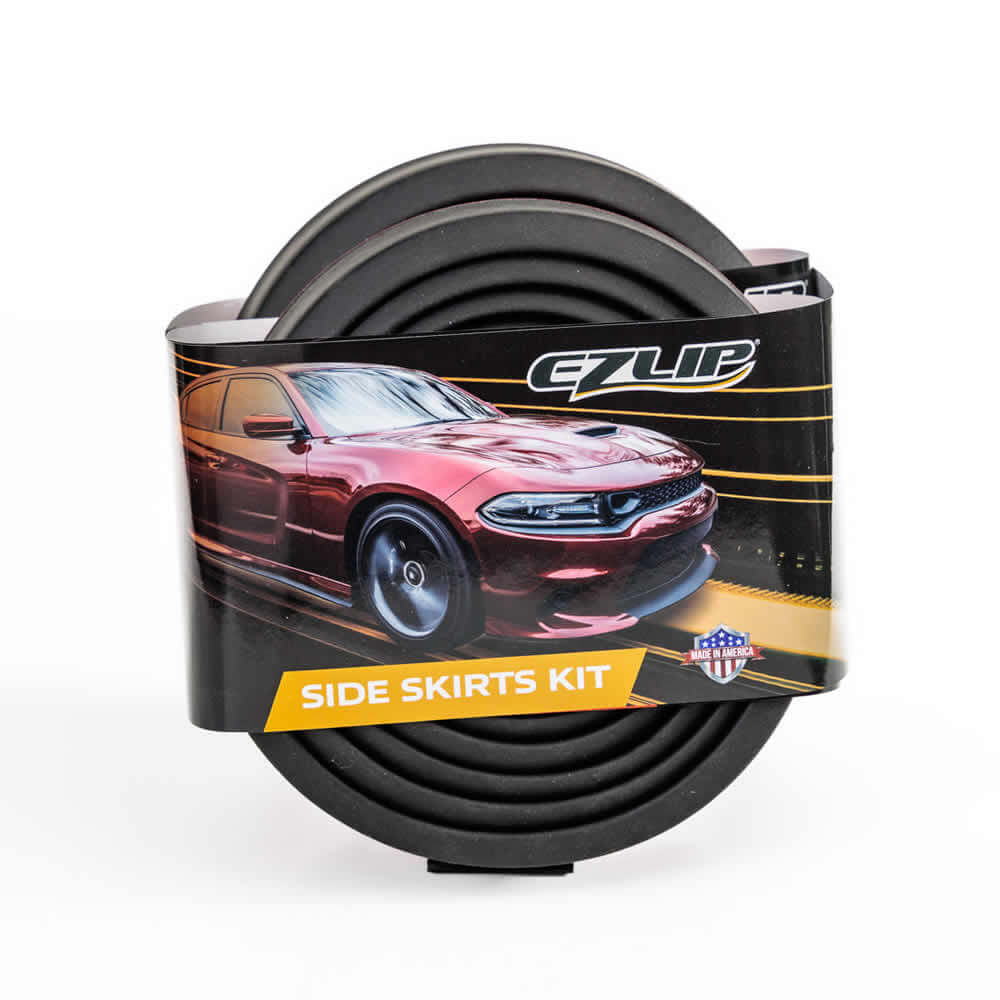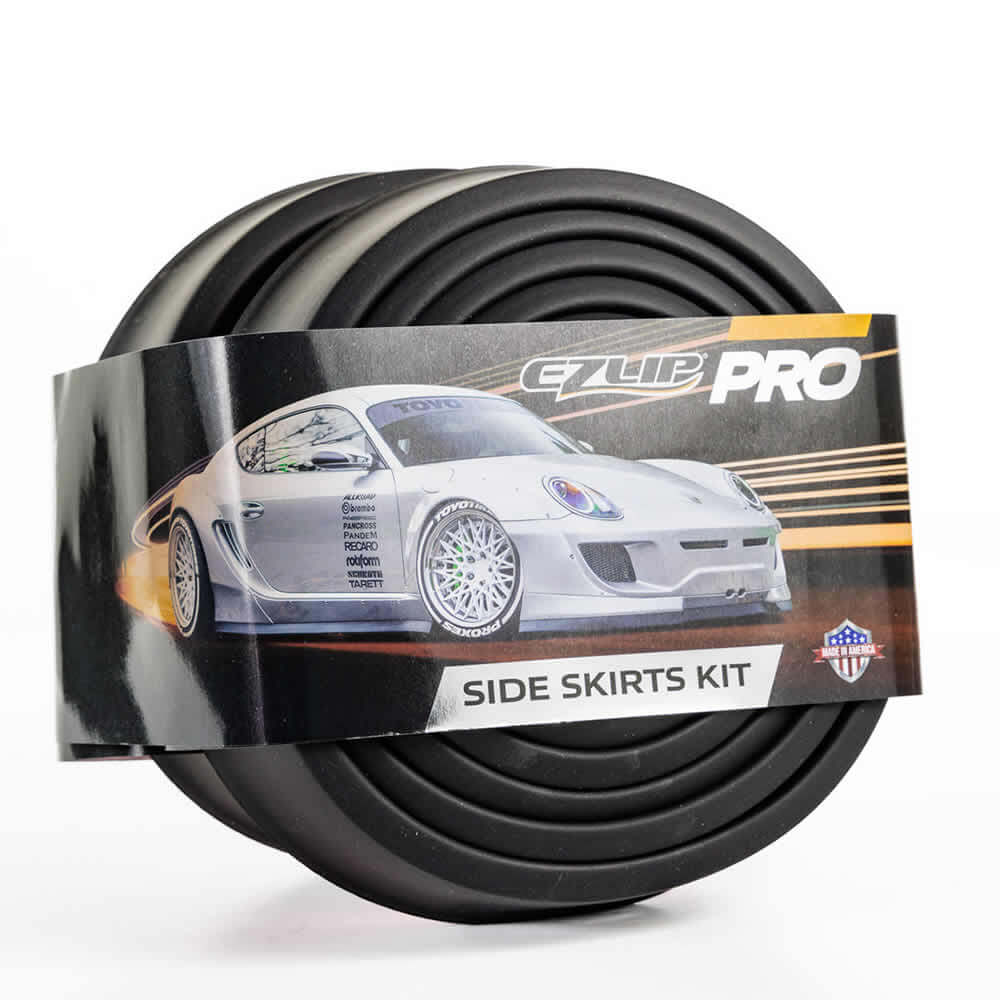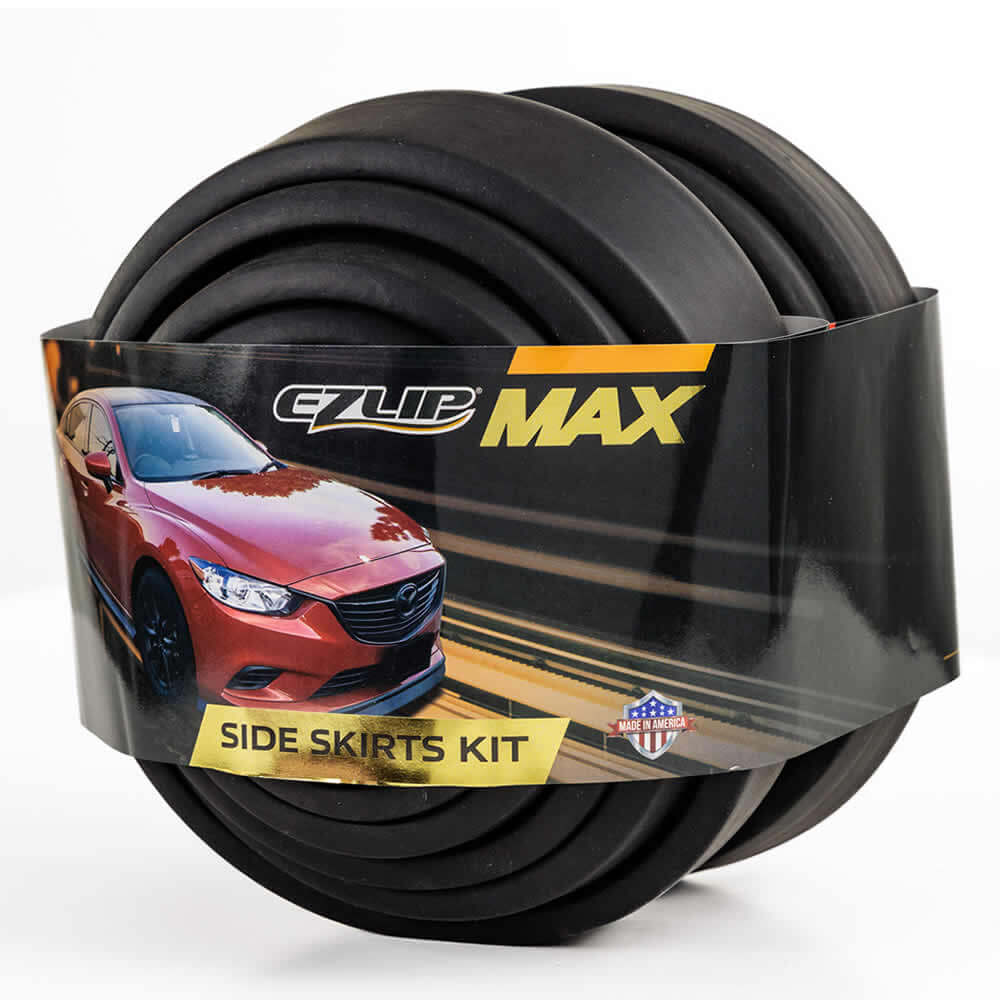
Our company sets itself apart by offering products that not only look good but are super easy to install. Most of our kits can be installed in 10 minutes or less, from the comfort of your garage or driveway. This promise is not limited to our EZ Lip but also to our EZ Side Skirts kit!
The EZ Side Skirts are simply two of EZ Lip kits bundled together. The same design works well on the front, sides and rear of most vehicles. Today we’ll show you how Ernie- part of the Zed Society car club, installed the EZ Side Skirts kit on his 2007 BMW Z4 Coupe!
Owner: Ernie
Location: Miami Lakes, Florida
Instagram: @Zed_Society
Club Name: Zed Society
Car: 2007 BMW Z4 Coupe 3.0si
Front Lip: EZ Side Skirts
Time to Install: 30 minutes

Surface Preparation
As always, careful surface preparation and installation is essential to get your EZ Lip or Sides Skirts looking good on any car. Ideally, our EZ Side Skirts should be installed in 70+ degrees (21 Celsius) or warmer. When the adhesive is warm, it gets stickier and also flexes and molds much better to the shape of your vehicle. In this case, Ernie is using a heat gun, but a hair dryer can also be used.
PRO TIP: If you don’t own either of these, a last resort is to leave the EZ Lip or Skirts in direct sunlight, on a warm day, for a few minutes so the adhesive can get hot.

Step 1: PEEL
With the EZ Side Skirts, the installation process is quite similar to our front lip. Start at one end of your rocker panel or sides, peel a small section of the red protective liner, and stick to the surface. You can start at the front wheel well, or rear one.
This step is important because you decide how far in, or out, your EZ Side Skirts will sit. If you want them to appear more subtle, install them farther back (towards the center of the chassis). If you want them more prominant and exposed, push the edge of the adhesive as close to the outer edge as possible. In some cases the design of your rocker panels will dictate how far in, or out, you can install them.
PRO TIP: Do a dry run first. Without removing the red protective liner, line of the side skirts along your sides, section by section, to confirm how you want them to look. Be sure to note any gaps, clips or other obstructions that may get into the way of the adhesive.

Step 2: STICK
Continue to peel and stick small sections of the skirts to the rest of your rocker panels. As a reminder, you should make sure to press the adhesive firmly against the surface of your car and also hold it in place for several seconds. You’ll know you’re doing it right when you break into a slight sweat.
PRO TIP: Our EZ Lip rolls sometimes come wound up tightly and have a curve to them. You may notice this only when the entire roll is layed out flat on the ground. While you’re installing, give the material a light stretch to ensure it goes on straight. If you don’t do this, there is a chance the final result may look wavy.

Step 3: CUT
The final and easiest step is to finish off the installation by cutting off any excess material with a pair of sharp scissors. The sharper the scissors you use, the better.
PRO TIP: Our Side Skirts are 8.5 feet each. Most rocker panels are much shorter so you are likely to have excess material left over. Use the extra material to test it out on other places of your vehicle. The most popular use for this extra material is installing it on the rear sides of your rear bumper (the area just behind your rear wheel wheels). You’ll be surprised how well it looks on some cars!

Before & After
And there it is! Ernie’s Z4 before the installation and Ernies Z4 with a little pizzazz after getting the side skirts kit installed. Total install time was only 15 minutes per side and the difference is astonishing!
Front Lip Installation Tips
If you’re interested in a chance to get your car showcased on our blog or you would like to let us know how you installed on your particular vehicle, start by completing our sponsorship application- Click here to apply!


