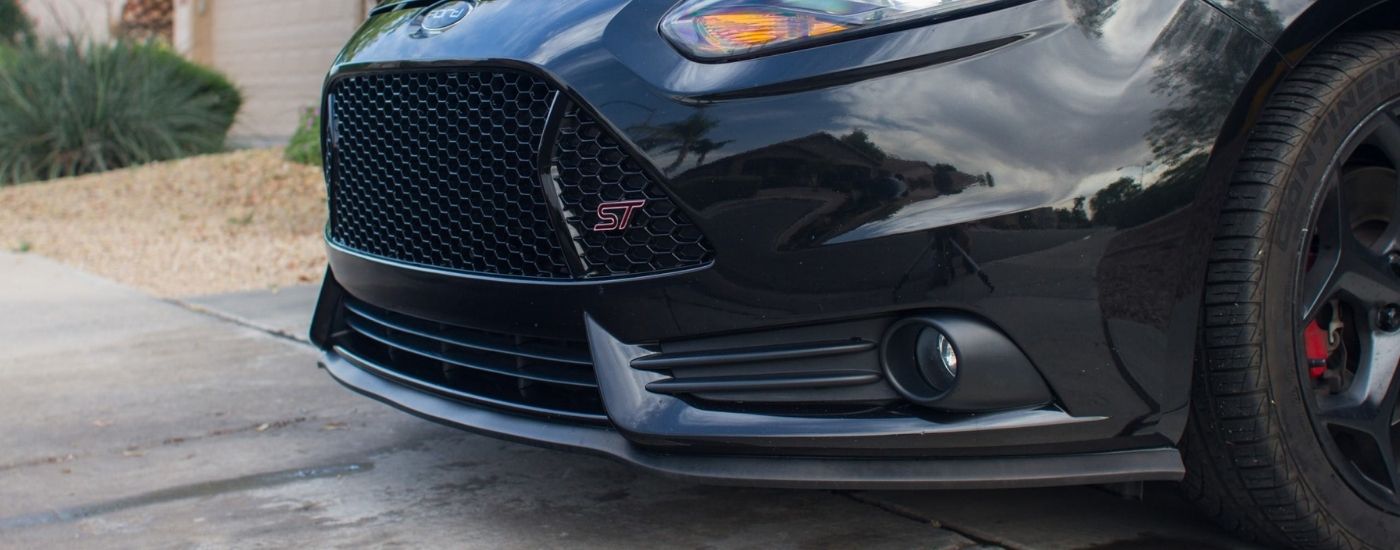
The EZ Lip is an easy-to-install universal lip kit. Unlike normal car splitters, you can actually install it yourself. However, there are some things you have to do before installing an EZ Lip, and there is a process to installing it as well. Luckily, all you need to do is follow these steps in how to install the EZ Lip on your car.
Prepare the Vehicle
Before you can apply an EZ Lip to a vehicle, you must first clean the area where you are going to use it. This process involves a full cleaning, and not just with water. You will want to use a cleaning fluid, such as isopropyl alcohol, to start the cleaning. Make sure the cleaning fluid that you use does not damage your car’s paint. Once you have cleared the area of dirt and other substances, you need to let it fully dry. The application area should be ready for your EZ Lip after this process.
Application
Once you have cleaned the area, it is time to install your EZ Lip. The first thing you will want to do is heat up the tape on the EZ Lip. The tape works best at warmer temperatures of at least 72°F. However, if the weather is not that warm, you can always use a hairdryer or something similar to heat the tape up. Once the tape is warm enough, you should remove the film covering the tape. After you remove the film, you will need to press the tape to the application area. Be gentle at first until you properly align the EZ Lip to the car.
Once in place, press the EZ Lip to the car for a few seconds to stick it to the car. Do your best to avoid any air bubbles and gaps when doing this process. The last step is to cut off any excess EZ Lip with a sharp knife or scissors. Once you have done this, leave the EZ lip alone for 24 hours to let it set. Avoid any car maintenance during this period, as it can destroy all your work of installing the EZ Lip.
If you follow these steps, you should know how to install the EZ Lip on your car. Make sure you give the tape enough time to set, or you might have to start the process over once again.


