Installation
PREPARING FOR YOUR FRONT BUMPER LIP INSTALLATION
Careful preparation is important for maximizing the life and durability of your EZ Lip. Following these preparation tips will ensure best results for your front bumper lip.
CLEAN
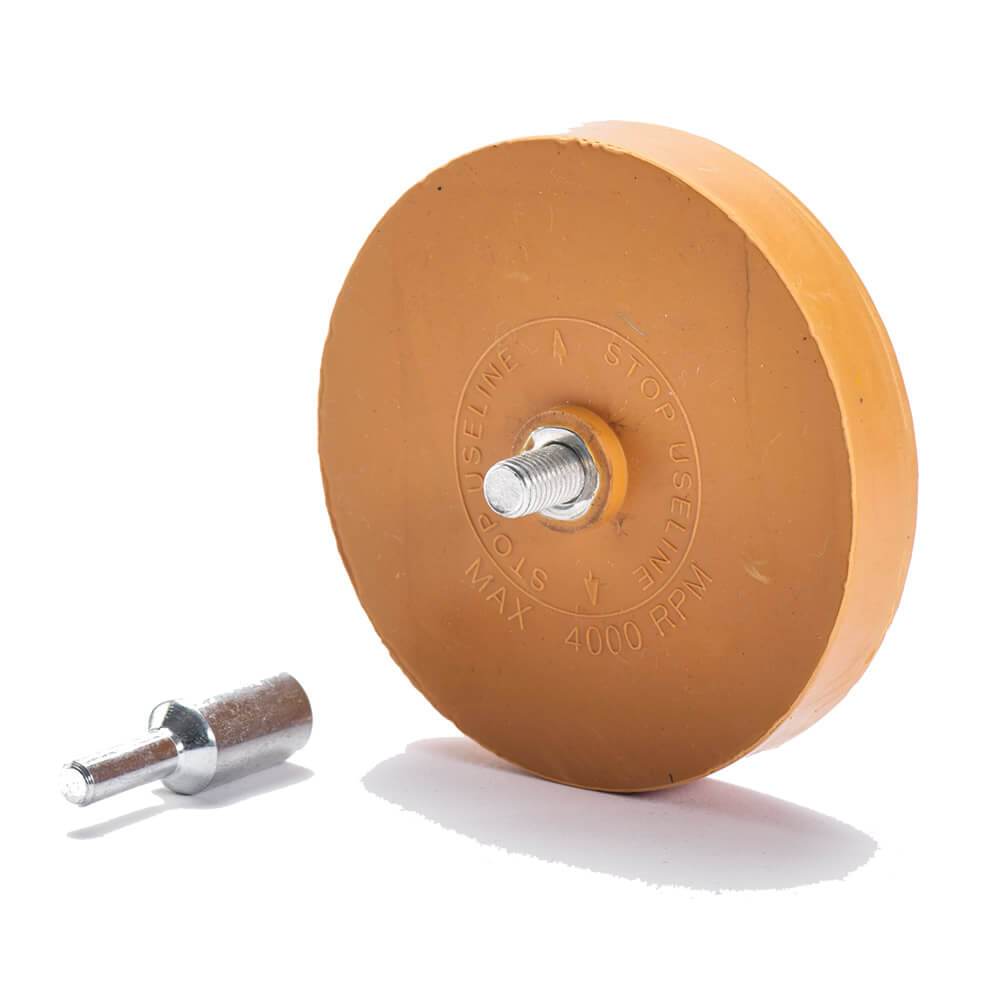
Before installing the front bumper lip, clean application area using isopropyl alcohol (test a small unobtrusive area for color-fastness). If you’re removing an old EZ Lip , be sure to use our removal tool to speed up the process!
DRY
Application area must be completely dry before installing your EZ Lip.
HEAT
For long lasting strength and durability, apply when temperature is at least 72º F (21º C). In colder climates, apply heat to the tape using a hair dryer or heat gun to help strengthen the bond.

STEP 1: PEEL
Peel protective film from tape starting at one end of the EZ Lip and attach to the surface of the vehicle.

STEP 2: PRESS
Continue installing to the rest of your vehicle while making sure to firmly press and hold the EZ Lip for several seconds against the surface of your vehicle. Make sure to eliminate air bubbles and gaps.

STEP 3: CUT
Cut excess off with sharp scissors.

CLEANING
Clean your front bumper lip the same way you would clean your car. Using soap and water will help eliminate dust and grime build-up. Do not wash vehicle for 24 hours after installing to give the tape time to cure.

TIPS
HOW TO GET THE BEST RESULTS FROM YOUR FRONT BUMPER LIP
TIP 1:
TIP 2:
TIP 3:
TIP 4:
TIP 5:
TIP 6:
TIP 7:


